

Good Morning guys, hope you are enjoying the weather. Today, because i want you to get the most out of your gadget i'd like to show you the easiest method to root your Android phone with your computer, its a guaranteed method and safe i.e you run minimum/NO risk of bricking your phone. For this post i give all credit to Rick Broida. He's doing a great Job. So lets get started Fellas.
What You Need
A computer
A USB cable
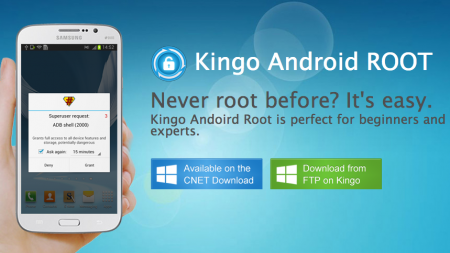
And you need to Download Kingo Android Root
Procedure
You need to enable USB Debugging on your phone, If your phone is running...
Android 4.0 or 4.1, tap Settings, Developer Options, then tick the box for "USB debugging." (You may need to switch "Developer options" to On before you can do so.)
On Android 4.2, tap Settings, About Phone, Developer Options, and then tick USB debugging." Then tap OK to approve the setting change.
On Android 4.3 and later (including 5.0, though this also applies to some versions of 4.2), tap Settings, About Phone, then scroll down to Build Number. Tap it seven times, at which point you should see the message, "You are now a developer!"
With that done, tap Settings, About Phone, Developer Options, and then tick USB debugging." Then tap OK to approve the setting change.

Run Android Root on your PC, then connect your phone via its USB sync cable. After a moment, the Root Application should connect to your phone. Your device screen may show an "Allow USB debugging?" pop-up. Tick "Always allow from this computer," then tap OK.

And that's all there is to it. If you decide you want to reverse the process, just run Android Root again, connect your phone, then click Remove Root.
With that done, you can get the most out of your Android Phone. Check back tomorrow for yet another tutorial.
Please use the comments to share your experience.
No comments:
Post a Comment
Feel free to leave a comment but please be polite.